Installation and Setup
Installation and setup is quick, easy and largely wizard driven.
A separate Emma account is required, if you don't have one click here to sign up.
We support both the Salesforce Classic and Lighting user interfaces and the not for profit success pack.
You can install into your Salesforce production, sandbox or developer orgs.
Once installed you get a free 14 day trial unless you are in a sandbox of developer account which provides a longer trial.
The integration works with all Emma plans and the following Salesforce editions:
- Professional
- Enterprise
- Performance
- Unlimited
If you are new to Emma please ensure you are set up correctly before you start the installation. If you have questions about Emma, please reach out to them directly. See: https://myemma.com/
Video overview

Installation
It usually takes Salesforce less than 10 minutes to install, once complete you will receive a confirmation email.
Emma API keys
Before you begin, ensure you have your Emma account/subaccount API details. To get them, please get them from Emma. See: How to generate your API keys.
Note: If you’re an Emma HQ user, make sure to copy the subaccount ID you’ll be connecting.
If you’ve generated them before, Emma will never retain your private key, so you’ll need to either locate where these were recorded outside of Emma or generate a new set.
To connect the integration, you’ll need your:
1. Account ID (or subaccount if you use Emma HQ)
2. Public key
3. Private key
Reminder: Emma HQ accounts will never connect with their top-level account, ID only subaccounts. The private and public keys are likely the same as your parent account, but each subaccount has its own Account ID.
Setup (connecting to Emma)
After installing Emma for Salesforce, follow the steps below to setup and connect your Emma account:
In Salesforce, click the app menu/launcher select Emma admin.
Click the Emma settings tab.
Click Connect, enter your Emma API details.
When the connection is made you will see on screen Confirmation.
If you wish to view email tracking history on either a contact or lead record you need to add a component. This depends on what Salesforce user interface you are using, below are videos for both using a contact as an example however it is the same process for the lead object.
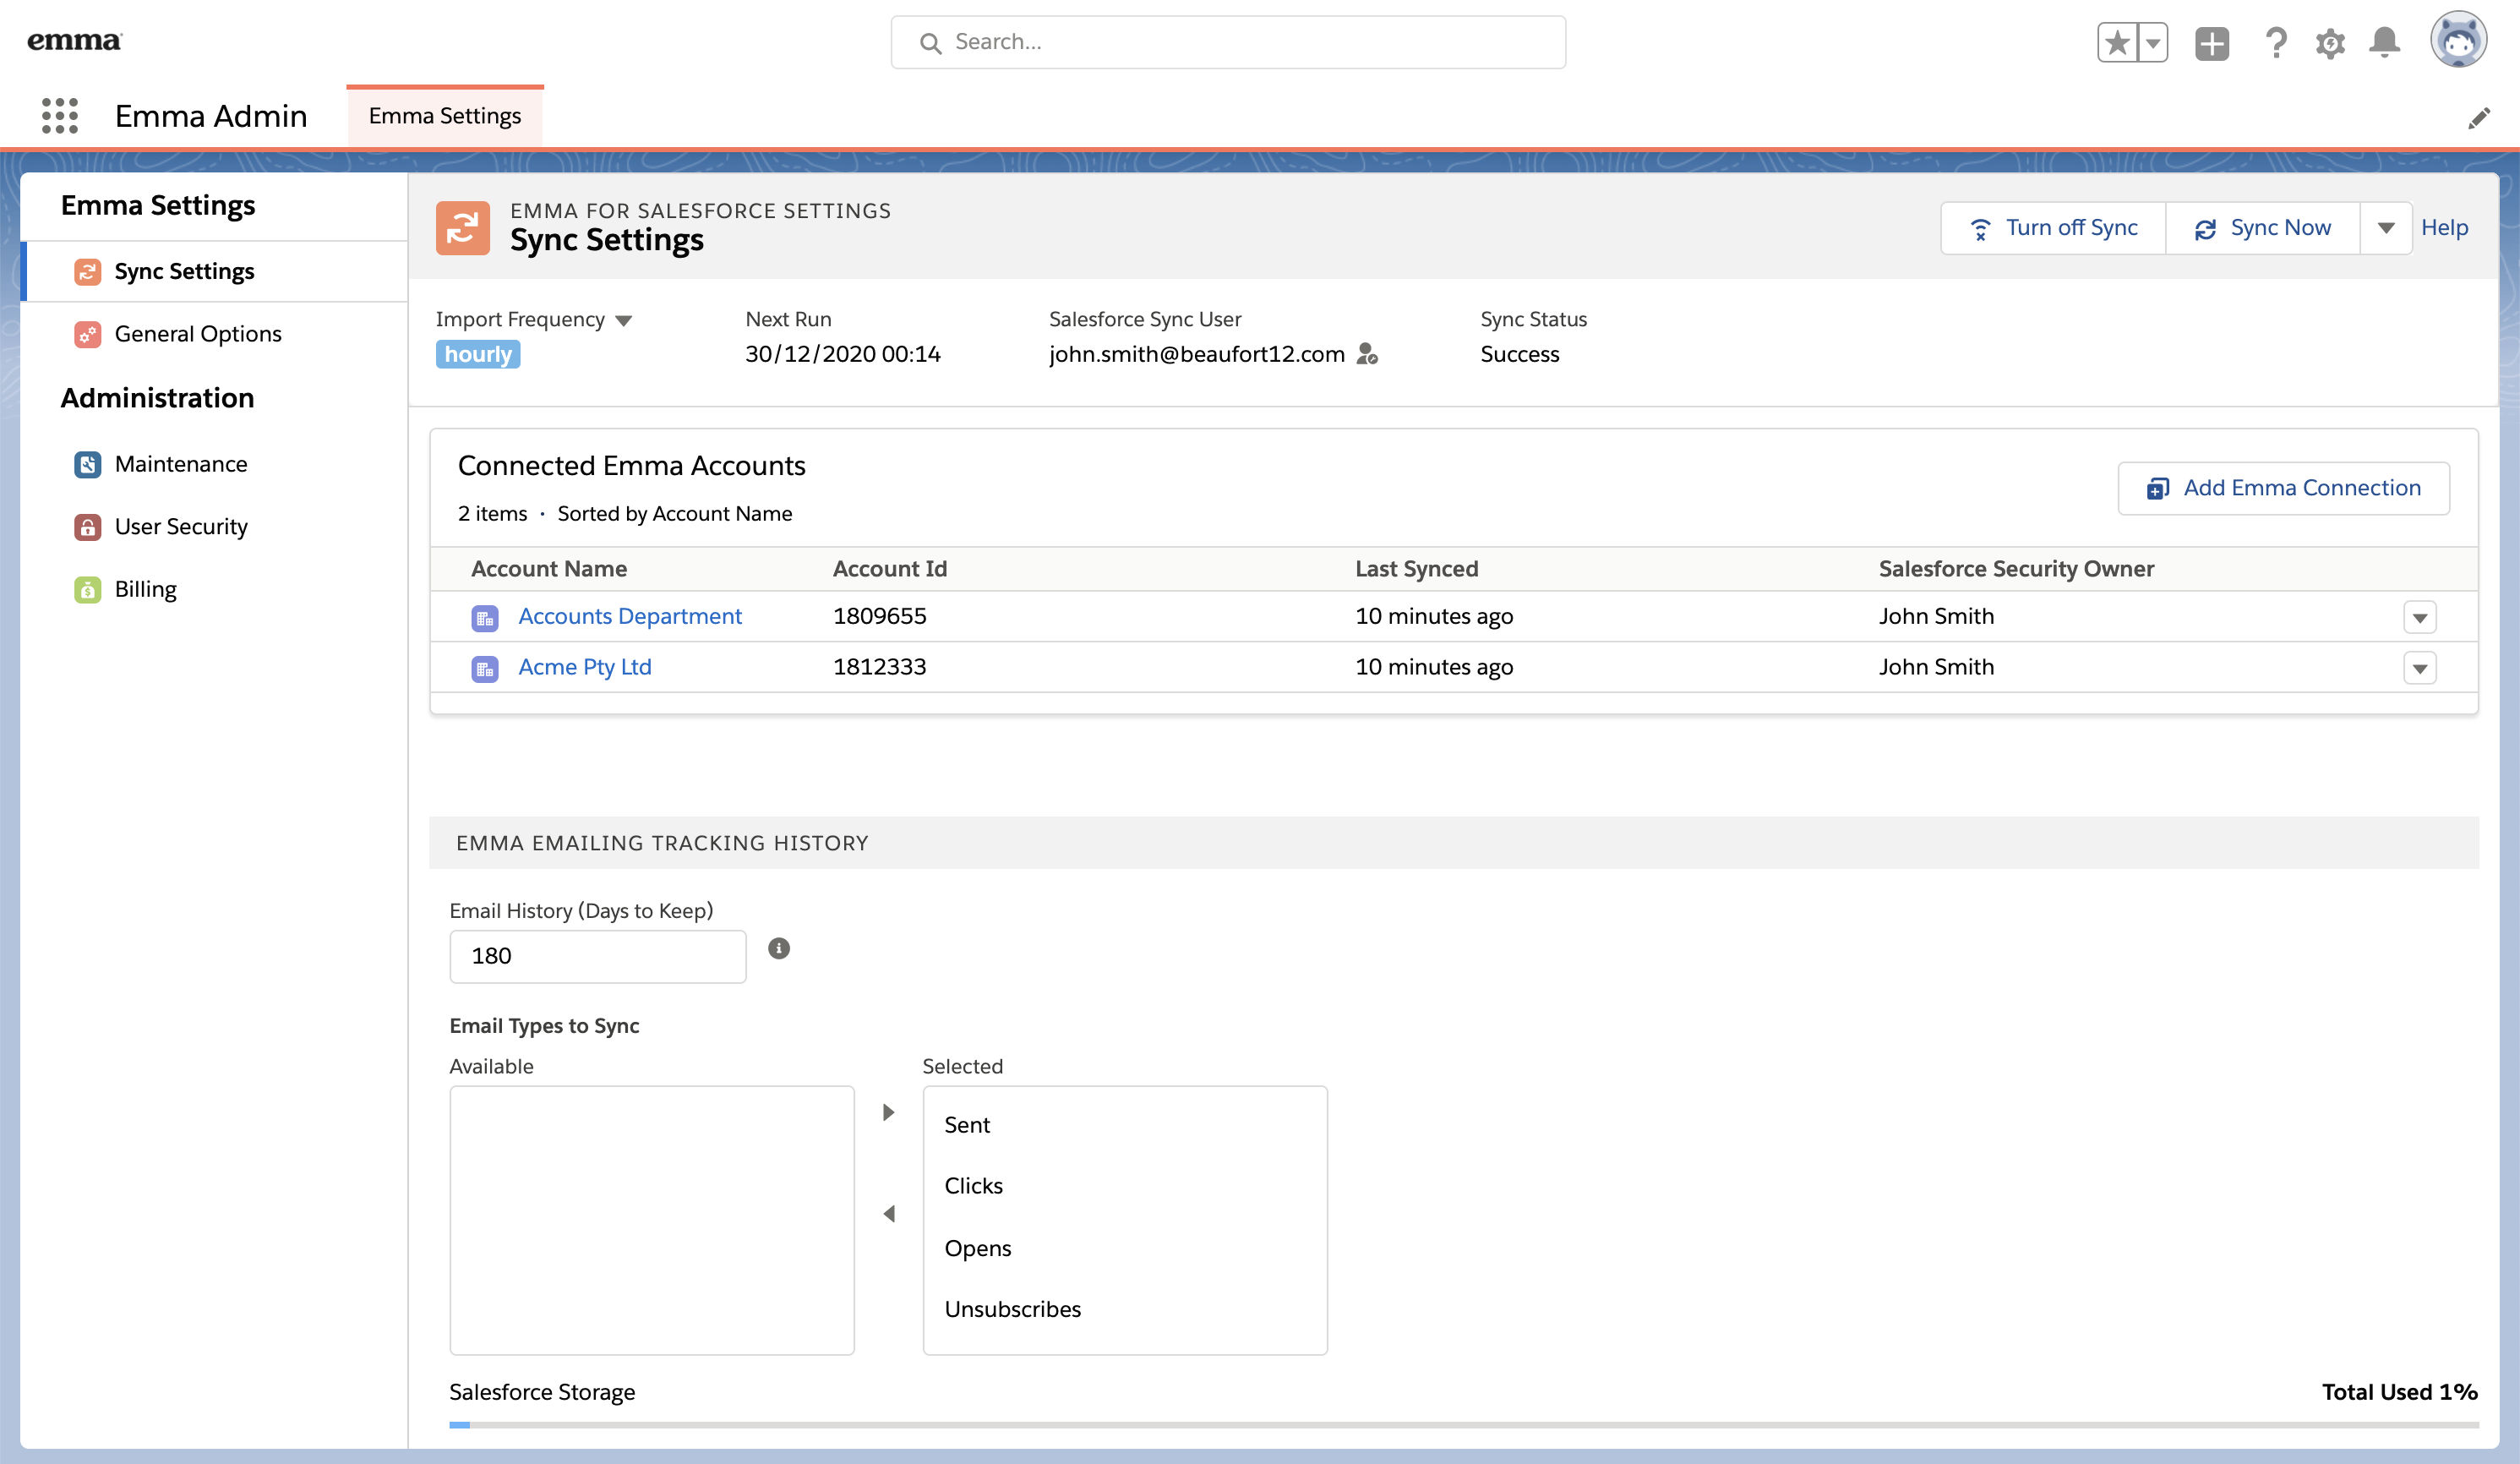
The setup wizard will now automatically setup page layouts and enable the sync. The primary sync (this pulls information from Emma) will run every hour. These settings can be changed via the Emma Settings Tab on the Sync screen.
You can connect multiple Emma accounts to the same Salesforce org (the Emma accounts can be completely unrelated - the connection is based on the Emma API keys).
Custom Salesforce objects
After installing Emma for Salesforce, the following custom objects will be created. These objects contain either records or settings required for our application. Our product has been designed to be self contained in order to not impact standard objects.
- Emma account.
- Emma audience.
- Emma group.
- Queue item.
- Emma mailing.
- Emma Mailing History.
- Field mapping.
- Emma account user.
- Subscriber import.
Our object structure should not be customised as it may stop our application working correctly or stop automated upgrades.